Unlock your domain

This applies only if you own your own top-level domain. If you have been using the free subdomain option with .sites.haverford.edu through Haverford Sites, this does not apply to you.

Transferring a domain you already own is not too much different from registering a new domain, except the transfer process requires an EPP code, or an agreement code between your old registrar and your new registrar that allows the release of your domain.  Your new registrar will have information on how to transfer in a domain.  When you start that process, you will be prompted to enter your EPP code.

How to find your EPP Code:

  1. To get started you’ll need to login to your control panel (https://sites.haverford.edu/dashboard) using your Haverford username and password.
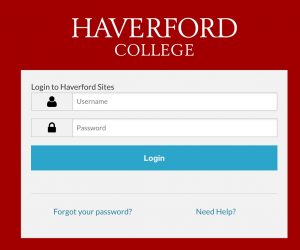
    screen shot of sites login page
  2. Once you’re logged in, you’ll see the cPanel interface.  Now click on the “Manage Your Account” menu at the top of your screen and select “Migration Information.”
    migrate your site link is on the top menu bar

3. Click the “Lock” button to unlock your Haverford Sites account.

4. Click the  “Get Code” button.  When you click on the “Get Code” button, the system will send you an email with your EPP code.

At this stage, here are a few items to note:

  • If you have whois protection enabled, you must disable it temporarily before you initiate the transfer. This is because your new registrar will send an authorization email to confirm the email address paired with your domain. (This is a “are you really sure you want to transfer?” message.)
  • You must click the confirmation link in the email, or you will have to start the process over.
  • The domain must be older than 60 days.
  • The domain must have no other transfers in the last 60 days.
  • The domain transfer process can take up to 5 days.

Once you receive confirmation that your domain has successfully been transferred, you can begin setting up your new domain.

Export your domain

To export your domain, we will create a backup of both the files in your domain and the databases that your domain draws from.  First, click on the ‘Manage Your Account’ menu at the top of your screen and select ‘Migration Information.

  1. To get started you’ll need to login to your control panel (https://sites.haverford.edu/dashboard) using your Haverford username and password.
    screen shot of sites login page
  2. Once you’re logged in, you’ll see the cPanel interface.  Now click on the “Manage Your Account” menu at the top of your screen and select “Migration Information.”
    migrate your site link is on the top menu bar
  3. To create a backup of your files and databases, simply click the button labeled ‘Add Backup.’  The system will take a moment to create a backup.  When it is complete, you will see the new backup appear below the button.  You can click on this backup to download the file.Reclaim migration backup button

Migrate to Reclaim Hosting

If you are leaving the college, and you want to maintain your site, you will need to migrate your domain from sites.haverford.edu.

The easiest option is to migrate directly to an individual account in Reclaim Hosting, which hosts Haverford Sites.

  1. To get started you’ll need to login to your control panel (https://sites.haverford.edu/dashboard) using your Haverford username and password.
    screen shot of sites login page
  2. Once you’re logged in, you’ll see the cPanel interface.  Now click on the “Manage Your Account” menu at the top of your screen and select “Migration Information.”
    migrate your site link is on the top menu bar
  3. Next click on the “Get Started” button in the Migration Offer region of the screen.
    Reclaim migration offer--Get Started button
  4. Next, you are prompted to provide the domain you want to use for your hosting service.If you have been using the free subdomain option with .sites.haverford.edu through your Haverford Sites, select the “Register a new domain” option, choose a new domain name, and follow the onscreen instructions.If you have purchased your own top-level domain from Haverford Sites or elsewhere, select the “I will use my existing domain and update my nameservers” option, and follow the onscreen instructions.


Then, send a message to Reclaim Hosting (support@reclaimhosting.com) to request data transfer including your old URL you would like the content moved from and Reclaim Hosting will take care of the migration for you.

Migrate to Reclaim Hosting

If you are leaving the college, and you want to maintain your site, you will need to migrate your domain from sites.haverford.edu.

The easiest option is to migrate directly to an individual account in Reclaim Hosting, where your site currently resides in the Haverford Sites space.

  1. To get started you’ll need to login to your control panel (https://sites.haverford.edu/dashboard) using your Haverford username and password.
    screen shot of sites login page
  2. Once you’re logged in, you’ll see the cPanel interface.  Now click on the “Manage Your Account” menu at the top of your screen and select “Migration Information.”
    migrate your site link is on the top menu bar
  3. Next click on the “Get Started” button in the Migration Offer region of the screen.
    Reclaim migration offer--Get Started button
  4. Next, you are prompted to provide the domain you want to use for your hosting service, but to either register a new domain, transfer your domain from another register, or use your existing domain and update your nameservers.

Choosing Your Domain Name

Choosing your domain name is the first step in getting started with staking your claim on the web. Your domain name is a unique Web address (e.g. yourname.sites.haverford.edu) that can be used to build out your own digital presence. As you make your choice, there are a few considerations to keep in mind:

Your Domain Name Must Be Available: Domain names must be unique, which means in order for you to claim your own, you need to be sure that it is currently available (and not being used by any one else or any company or organization). There are lots of tools to check on domain availability, and when you sign up on sites.haverford.edu, we’ll actually check the availability of your choice for you. If you’d like to spend some time thinking about your choice and checking availability before you actually sign-up, we recommend using whois.net.

Choose a Domain You Can Live With: You should choose a domain name that you feel you can live with for quite some time. You should pick something that you won’t find embarrassing in the future. A good rule of thumb is to pick a domain that you would be comfortable putting on a future job application.

You May Wish to Include Your Name in Your Domain: There is no requirement that your domain reflects your specific identity in the form of your first and last name. However, choosing a domain name that includes your name may make it easier for you to achieve higher rankings in search engines when someone queries your real name.

Pick a Domain you Like: At the end of the day, your domain should reflect you. Pick a domain you like and are proud of. It can reflect your interests, sports you play, or your hobby. Or it could just be your name. The “right” domain for you is the one you’re comfortable with.

Signing Up

Review the Guidelines

Before you get started, we recommend that you review our information about Choosing a Domain Name.

The Sign-Up Process

Once you’ve reviewed the guidelines, you can proceed to the sign-up page.

  1. Click the “Get Started” Button
    Get Started button
  2. You will be redirected to login for verification. You will use your Haverford username and password to log in.
    Haverford Login Enter your Username and Password
  3. You are now ready to create a domain. Set up your domain as prompted. Enter in the subdomain name you want for your website. When you’ve found an available subdomain, click the button labeled “Continue.”
    Reclaim domain setup screen
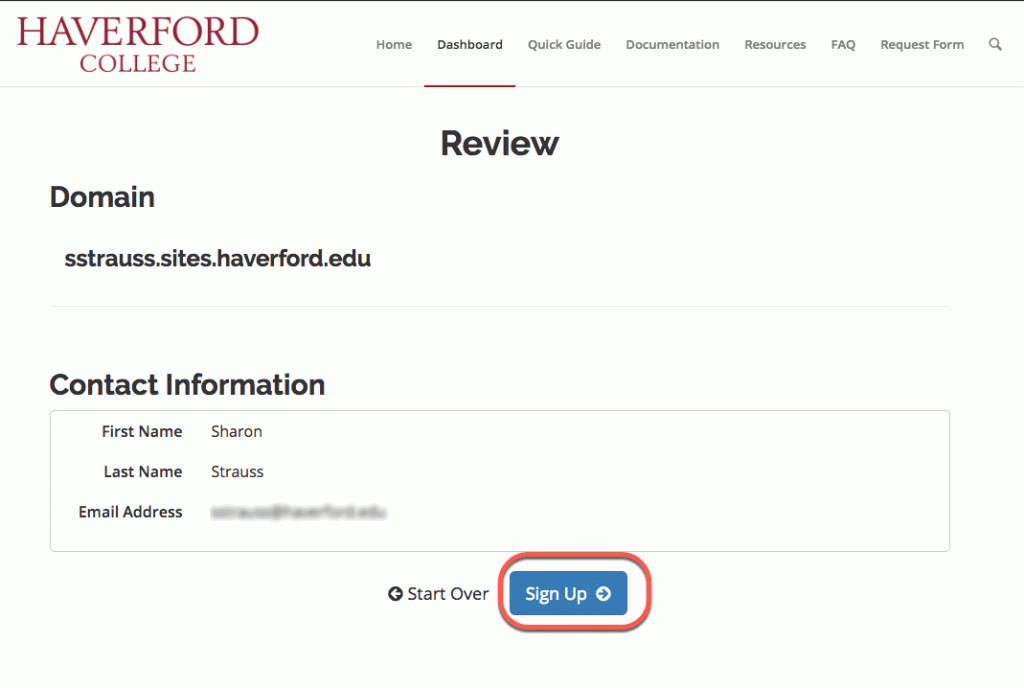
  4. Confirm that you like the name you selected. If you do, click the “signup” button. (If not, click the “start over” button, and repeat step 3.)
    Confirm domain name and continue or start over
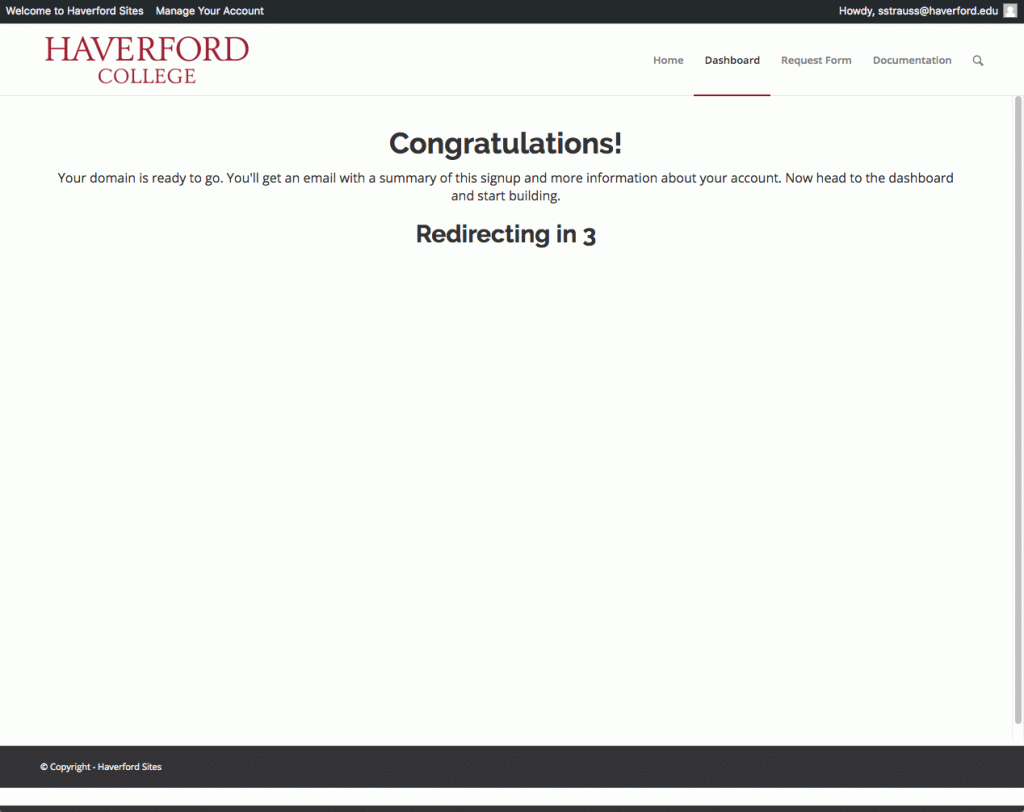
  5. You should now see a screen confirming that your subdomain is ready. After a few seconds, you will see the regular cPanel options.
    "Congratulations" screen appears, and then you are redirected to cPanel screen

Option: Buy your own top level domain for your site

It is easy to create your own top level domain. This allows you to select a URL for your web site that is easy to remember and share.

Follow these top level domain instructions on the Reclaim website. Alternately, you can get a domain from a different domain provider and and add it as an addon domain.

Installing Applications with Installatron

Installatron is a script installer that allows you to quickly and easily install Web applications to on the Web space. By default, when you use Installatron, the application you add will be automatically upgraded whenever a new version is available (and a backup will be kept, just in case).

Installing Applications Using Installatron

  1. To get started you’ll need to login to your control panel by going to https://sites.haverford.edu/dashboard/.
  2. Here you’ll login with your Haverford username and password.
    screen shot of sites log on screen
  3. Once logged in you’ll be at the homepage of your control panel. You will need to scroll down until you see a section of the Control Panel labeled “Web Applications.” Within this section, you will see a link to the Installatron which you should click. Or, you can type “installatron” (without quotes) into the search bar.  When you press enter you will automatically be redirected to the Installatron page.
    screen shot showing how to find installatron applications installer
  4. When Installatron opens, you will see a list of any applications you’ve already installed. To install something new, click on the Applications Browser button (labeled with a large star).
    screen shot of installatron applications
  5. A listing of all of the applications you can install by default in Installatron will appear. Browse to the one you want to install, and click the icon.
  6. After clicking the icon, a page will appear with information about the application, links to resources, and a link to install it.
    screen shot of the "install application" button in Installatron
  7. Click “Install this application” when you are ready.
  8. A page will appear with a number of settings you can choose/change. The image below shows these settings; here is a rundown of them:
    screen shot of Installatron application options
    • Location: You’ll need to choose where to install your new application. You can install it at the root of your domain or in a subdomain (which you need to set up first). In addition, you can place your application in a folder (in either your root domain or a subdomain)
    • Version Information: You can choose a version of the application. Generally, we recommend choosing the default version. It is likely to be the most recent, stable release.
    • Updates & Database Management: By default, the system is set up to automatically upgrade (and create backups upon upgrading) all applications. In addition, by default, the database will be set up for you automatically. We recommend NOT changing these options.
    • Username/Password: An username/password will be automatically generated for you. You can choose to change this, if you like.
    • Click Install: After installation, you’ll be taken back to the main Installatron page, with details about the application you just installed. At any time you can come back here to review the application details, back it up manually, or uninstall it.

To get to your new site, you can click the “website” link. What’s more, with certain applications you can use this space to login to the admin area.

In addition, you’ll have received an email with your username/password and a link to your new site.

Introduction to CPanel

Your Web hosting account on sites.haverford.edu is managed through a control panel interface called cPanel. cPanel is an industry-standard tool for managing your domain and hosting. Using this tool, you can do all kind of thing with your Web space including the following:

  • install Web applications
  • view and manage files in your space
  • create subdomains
  • create and configure FTP accounts
  • review access logs for your site
  • manually manage and configure databases

Accessing cPanel has become even easier now! All you need to do is login at the top right of the page at sites.haverford.edu (with Haverford Username and Password) and your website’s cPanel will automatically be displayed upon login.

Once you’re logged in, you’ll see the cPanel interface. It is divided into sections, making it easy to locate the different tools and services available to you.

Many of the tutorials on this site walk you through particular tasks in cPanel, but we encourage you to explore on your own, as well.

Registering a Domain

Haverford Sites currently utilizes both subdomains of .sites.haverford.edu and top-level domains (a .com, .net, .org address) for the initial signup. You have the option to start with a free subdomain and then later decide you’d like to purchase a top-level domain after using the space.  You can do this by registering a domain with a service provider (we make a recommendation below, but any domain provider should work) and adding it to your space as an Addon Domain.

To start you’ll need to get the domain registered. When choosing a domain we recommend keeping it all lower-case, avoiding hyphens, keeping it short, and of course it will need to be a unique address. Reclaim Hosting has made the process of registering a domain quite simple, and the domain will work with very few additional steps due to the integration they have with our hosting system. To register a domain you would go to https://portal.reclaimhosting.com/cart.php?a=add&domain=register and type in the domain you’d like to purchase:

screenshot of domain registration at reclaim.com

After ensuring the domain is available for purchase you’ll be prompted to select whether you’d like to protect the contact information associated with the domain. All domain registrations are required to have valid contact information publicly available, however, a proxy service to protect your identity is available for an additional fee. You can read more about this service, ID Protect, at http://docs.reclaimhosting.com/FAQ/ID-Protect-FAQ/.

You’ll also be prompted for nameservers for the domain. If registering the domain through Reclaim Hosting you can leave these with the default. If registering the domain elsewhere you’ll want to point the nameservers to ns1.reclaimhosting.com and ns2.reclaimhosting.com in order for the domain to work with our system.

Once you’ve completed the checkout process with payment information the domain will be registered automatically. The last step is to add it to your existing account here at Haverford Sites. To do that you’ll log into your account at https://sites.haverford.edu/dashboard and in cPanel navigate to Domains > Add-on Domains.

screen shot of add-on domain option

Here you will type in the domain that you registered previously to host it within your space on Haverford Sites. cPanel will also setup a subdomain which you can leave with the default that it creates and verify a location for the files for the domain (typically a folder inside of public_html). The option to create an additional FTP account is present but not necessary. Once the domain is entered click Add Domain to add the domain to your hosting account.

screen shot showing how to add a domain

At this point the domain will now be hosted in your account and you can use it to install software, upload files, and any number of other actions available to you in cPanel.